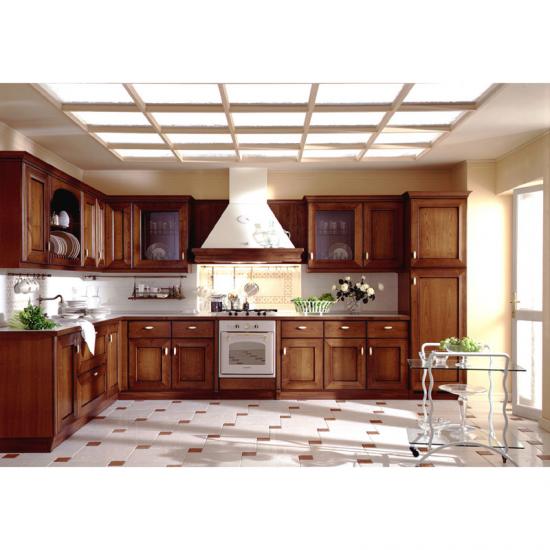
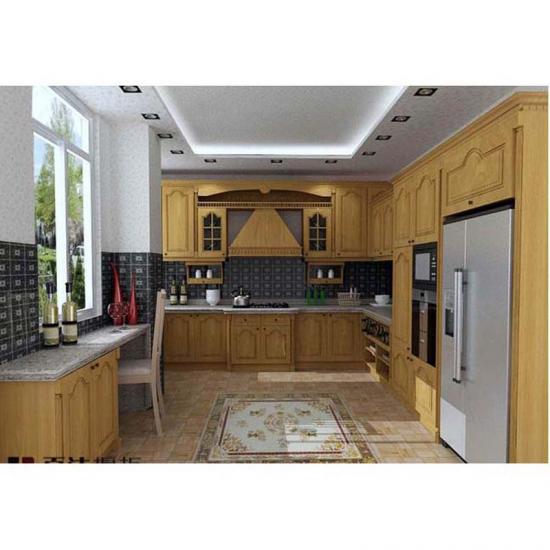
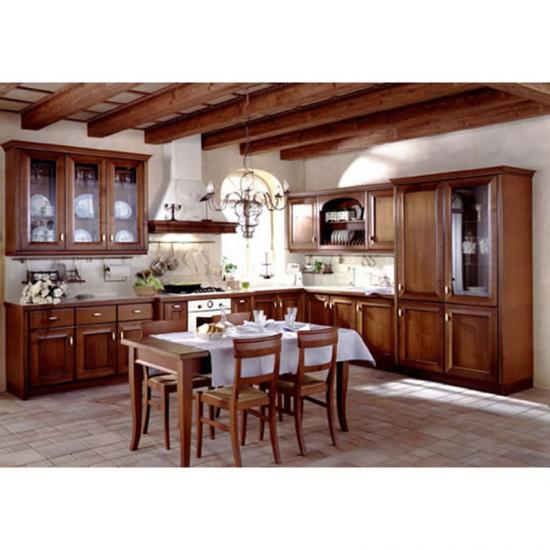
Door material : solid wood as maple. Oak. Larch. maple etc
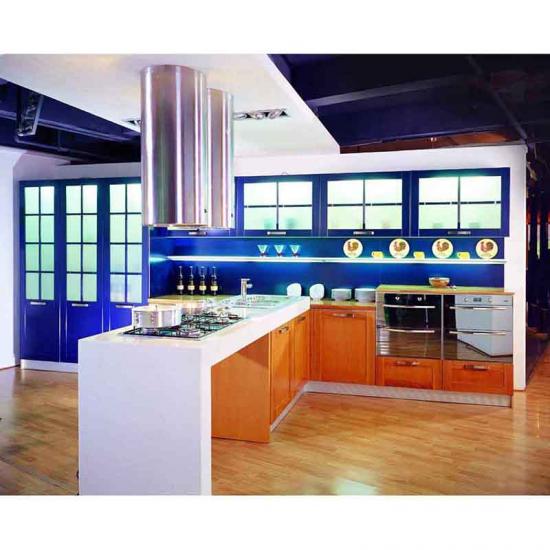
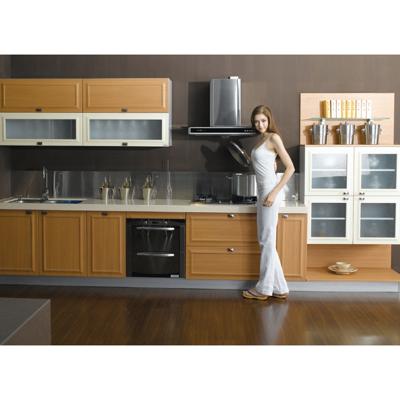
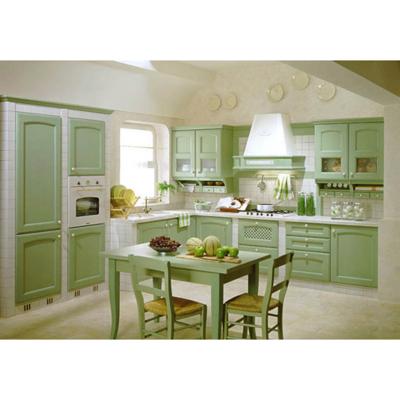
Well-constructed kitchen cabinets contribute significantly to kitchen efficiency and comfort. Designed with organized storage in mind, they accommodate diverse kitchen tools and ingredients. Quality craftsmanship, combined with durable materials, ensures stability and long service life. Customizable designs allow kitchen cabinets to blend seamlessly with different interior themes and spatial requirements.
Color:
Customized
Solid wood remains a popular choice for many cabinet parts, including bases, frames and doors. However, most commercial cabinets have sides, backs and bottoms made of plywood or particle board. Pricing for solid wood cabinet doors depends on the wood species used.as the Oak and Maple wood etc.
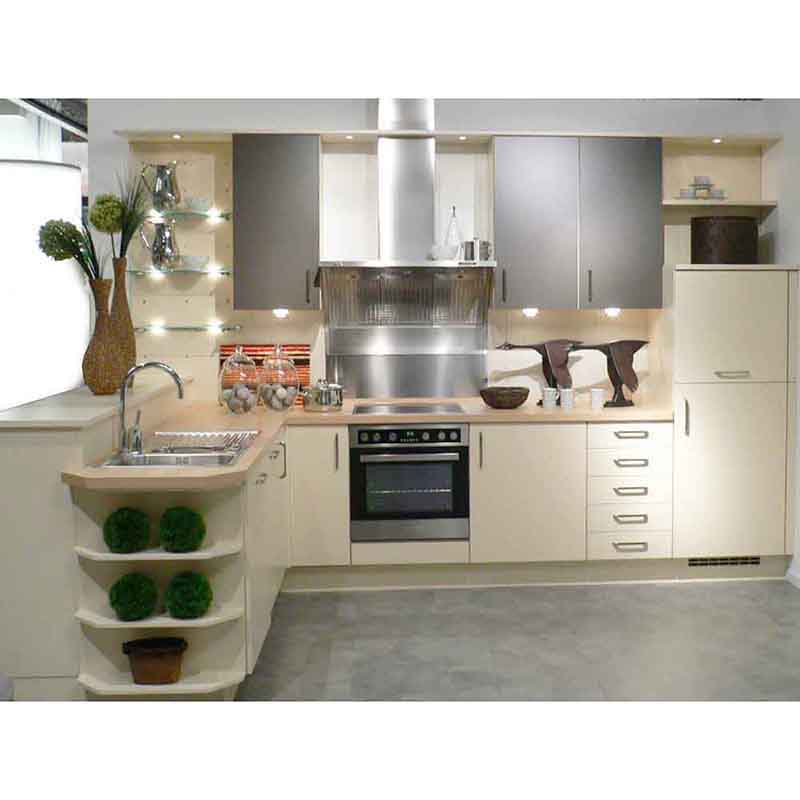
Wood options. Frameless cabinets, which exhibit a modern appearance in keeping with the design movement of "minimalism," are typically constructed of particle board, which features a high degree of dimensional stability, adherence to dimensional standards, absence of warping, uniformity, and a lower cost than solid wood and is very strong. Plywood and/or solid wood can also be used in frameless cabinet construction, generally at a higher cost.
Production Quick Details
|
Material |
Melamine Board,Mdf, Plywood |
|
Feature |
E-Co Friendly |
|
Size |
Customized |
|
Base Cabinet Type |
Door & Drawer Base Cabinets, Door Base Cabinets, Drawer Base Cabinets |
|
Drawer Box |
1) Plywood Screwed Drawer Box |
|
2) Solid Wood Screwed Drawer Box |
|
|
3) Solidwood Dovetail Drawer Box |
|
|
Accessories |
Hinge , Toe Kick |
APPLICATION
FAQ
Solid Hardwood Doors and Face Frames
Cabinet boxes are 1/2" plywood
Cabinet box and shelves stained to match
3/4" plywood shelves
No Particle Board is used in their construction
Butt style doors on double door cabinets
Stainless steel baskets on lazy susans
Natural Maple Dovetailed Drawer Boxes
European Concealed Hinges
Full Extension Under Mount Soft Close Glides
Soft Close Hinges
Full Overlay Doors
Wood Species: Solid Maple/Birch
Production Specification
Door material
1) Solid wood as maple. Oak. Larch. maple etc
2) Lacquared faced (MDF)
3) Vinyl wrap or vacuum form (MDF)
4) Melamine faced (MDF)
5) Polyurethane painted (MDF)
Carcase Material
1) Melamine faced regular particleboard (E1 / E2 standard)
2) Melamine faced moisture resistant particleboard (E1 / E2 standard)
3) Laminate faced plywood (local)
4) MDF with inside and outside melamine
Countertop
1) Artificial stone / manmade stone (large selection)
2) Natural stone / granite or marble
3) Quartz surface Stone
Basin Material
1) Ceramic
2) Poly-marble
3) Stainless steel
Hardware
Our Kitchen cabinet and bathroom vanity has included all necessary hardware such
as drawer slides, knobs, handles, hinges and shelf pins (local) specific brands
such as Blum, Hettich, Mepla or same grade also available (optional).
Soft close and push to open
New varieties of hinges and slides have been developed that enhance the action and usability of doors and drawers.
Soft Close is one of the most widely used hardware upgrade, a system where once a door/drawer is pushed to close, a mechanism slows the momentum of the door/drawer, closing it gently and quietly. This system is beneficial in reducing slamming doors, injuries to children and wear and tear on the cupboard.
A quality cabinet hinge has a soft close mechanism built into the nickel plated, hardened steel hinge. The hinge should be adjustable six ways: in-out, up-down and left-right so that the hinges can be adjusted when cabinet doors expand and contract during seasonal changes.
Packing
Flat packed and ready to assemble
5-ply carton box with your own printing
How to install the kitchen cabinet?
Steps:
1. Mark cabinet layout lines onto the wall.
2. Locate wall studs using hammer and finishing nail.
3. Mark stud locations onto back of cabinet.
4. Drill four holes through back of cabinet, which correspond to the stud locations.
5. Set cabinet on cabinet jack, hold cabinet level, then fasten to wall studs with 2 ½-inch drywall screws and finishing washers.
6. Check to make sure cabinet is plumb.
7. Use jigsaw to cut vent-hood hole in cabinet that goes over the stove.
8. Clamp next cabinet to the first installed cabinet, then screw it to wall studs.
9. Fasten the two cabinets together with 1 1/4-inch screws.
10. Hold 6-foot level across face of cabinets; if necessary, add shims at wall to align cabinets.
11. Lay base cabinets on floor, facing up, and clamp together.
12. Fasten together base cabinets with 1 ¼-inch pan-head screws.
13. Slip shims between cabinets to maintain uniform width.
14. Use hammer to snap off excess shims.
15. Set base cabinets in place and check height to countertop layout line; cut filler strip to match discrepancy.
16. Move base cabinets, set filler strip on floor.


 Tel :
Tel : Email :